Create Your First Event
What you will need
Section titled “What you will need”- Challenge content: a few questions, at least one photo challenge, and GPS coordinates for each (a street address works too)
- About 30 minutes
The events list
Section titled “The events list”Click Events in the top bar. This is the main working area — a list of all your events.
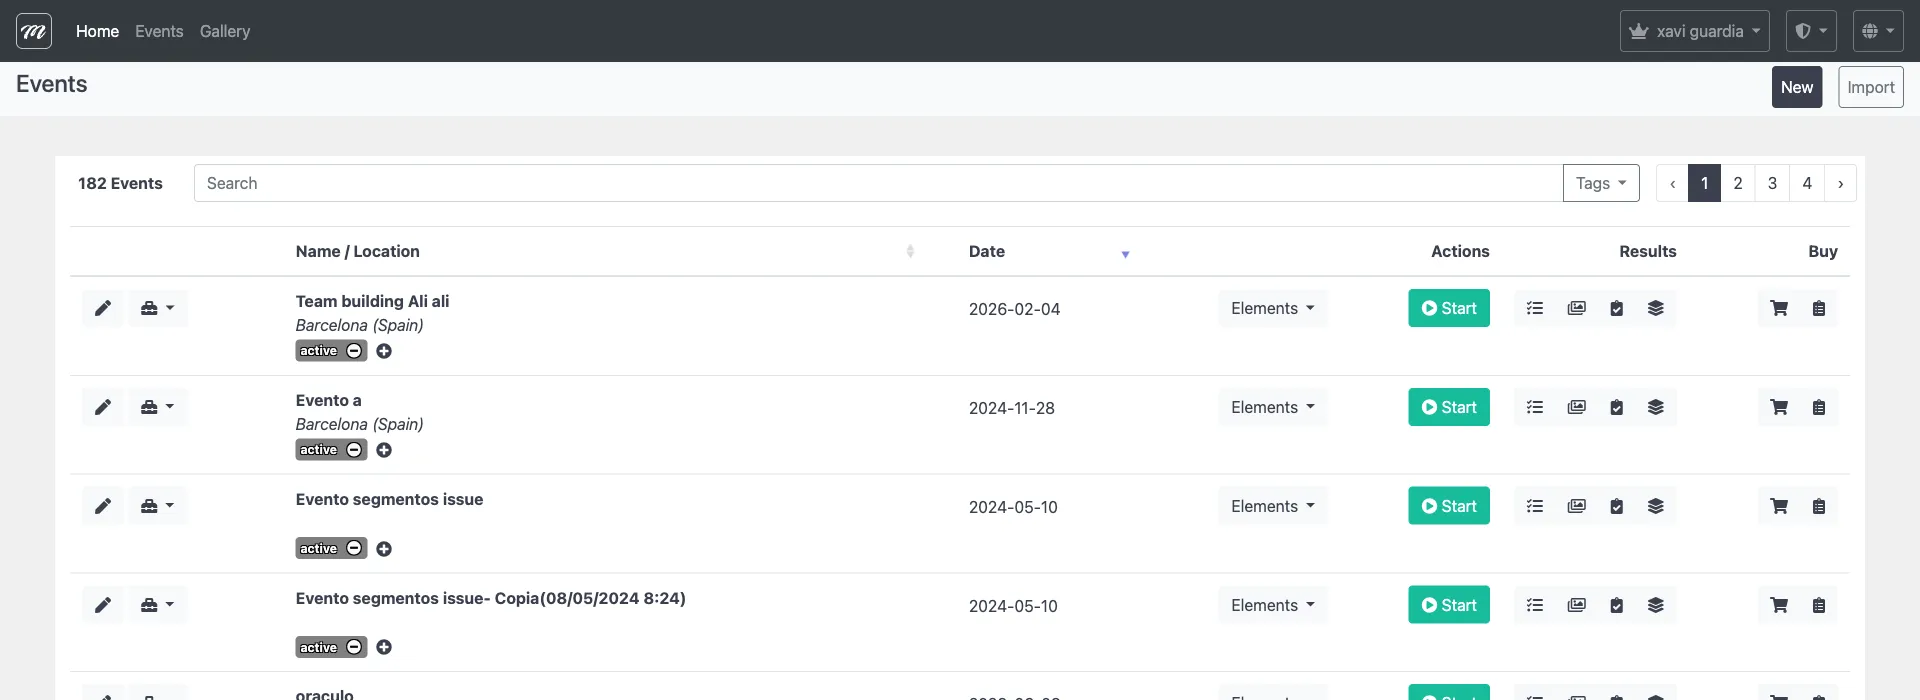
Each row shows one event with columns for Start, Name, Date, Location, Teams, Challenges, and Actions. Each row also has a dropdown arrow for additional actions (duplicate, export, results, reports). Use the search box to filter by name.
Step 1 — Create the event
Section titled “Step 1 — Create the event”- Click Events in the top bar (if you are not already there).
- Click the New button above the events table.

- Fill in the fields:
| Field | What to enter | Example |
|---|---|---|
| Name | A name your participants will see | ”Barcelona Team Challenge” |
| Number of Teams | Maximum teams for this event | 10 |
| Duration of game in days | How long the event is accessible after starting — this is the access window, not a gameplay countdown (minimum 3, maximum 120) | 15 |
| Location | Type an address or click the map to place a pin | ”Plaça Catalunya, Barcelona” |
| Event Theme | Visual style for the player app | Default, Christmas, Pirates, or Halloween |
- Click Save.
You are now on the Event Edit page. This is where you will spend most of your setup time. Notice the 10 tabs across the top:
| Tab | What it configures | Reference |
|---|---|---|
| Event | General settings and gameplay options | Event Tab |
| Logo | Event branding (logo images) | Logo Tab |
| Alliances | Cooperative team groups | Alliances Tab |
| Teams | Your team roster | Teams Tab |
| Challenges | The tasks players will complete | Challenges Tab |
| Routes | The paths teams will follow | Routes Tab |
| Objects / Gadgets | Collectibles and sabotage tools | Objects / Gadgets Tab |
| Segments | Game phases and levels | Segments Tab |
| Custom Map | A branded map overlay | Custom Map Tab |
| Documents | Attached files for teams and staff | Documents Tab |
You do not need to fill every tab. For a basic event, you need: Teams, Challenges, and Routes. Everything else is optional.
Step 2 — Set your gameplay options
Section titled “Step 2 — Set your gameplay options”You are already on the Event tab (the first one). Review the gameplay checkboxes:
| Option | What it does | Recommended for your first event |
|---|---|---|
| Allow players to click map icons to activate challenges | If on, players can tap a challenge on the map without walking to it | Leave off — GPS proximity is the core experience |
| Don’t allow users to switch segment | Locks players to their current game phase | Leave off (or skip if you are not using segments) |
| Display rankings exclusively for the active segment | Hides the overall leaderboard | Leave off |
| Hide chat icon on app | Removes the in-app messaging button | Leave off — you may want to send messages during the event |
Click Save when done. The other fields (name, duration, theme) are already set from Step 1.
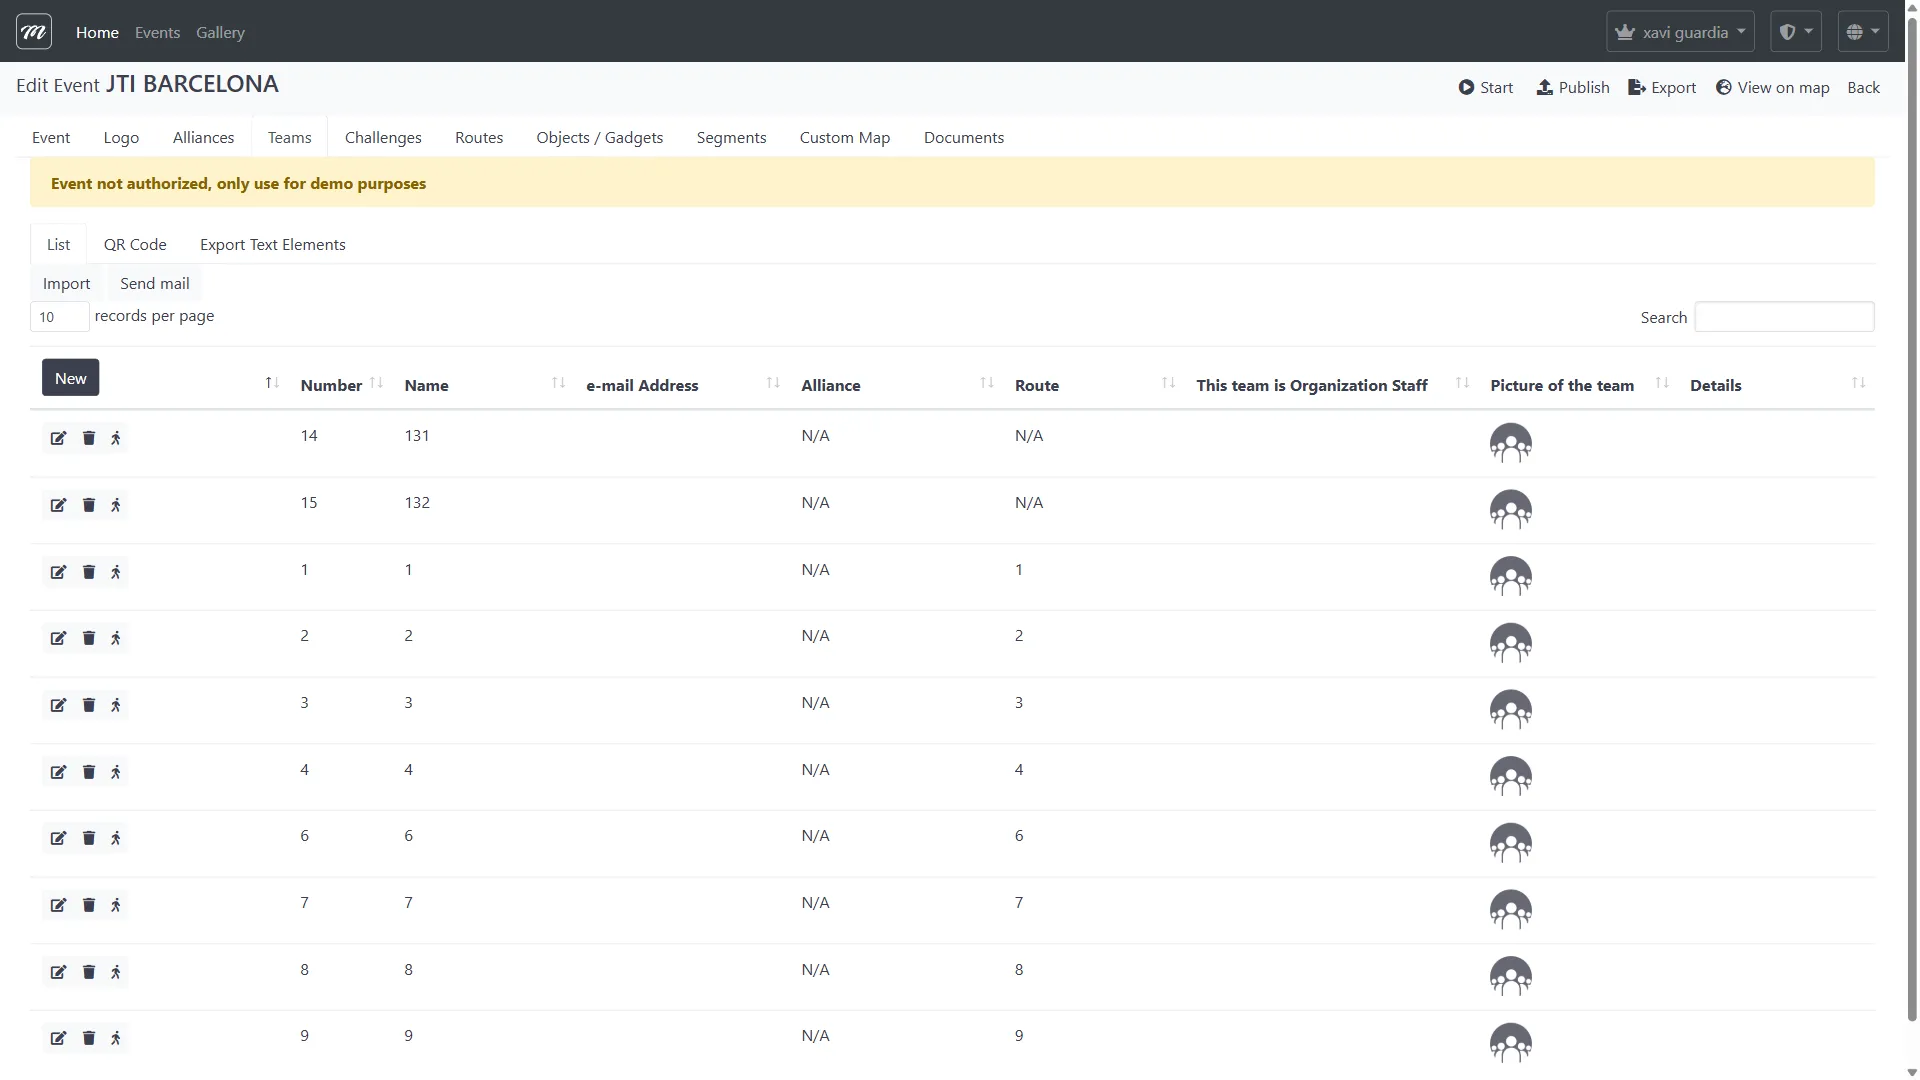
Step 3 — Add teams
Section titled “Step 3 — Add teams”Click the Teams tab.
- Click New.
- Fill in:
- Name — a team name (e.g., “Blue Sharks”)
- Number — a team number (1, 2, 3…)
- Leave Route empty for now — we will assign routes in Step 6.
- Click Save.
- Repeat for each team. For your first event, create 3–4 teams.
Shortcut: If you have many teams, click Import to upload a CSV file with all team names at once.
After creating your teams, you will see them listed:
Generate QR codes for teams
Section titled “Generate QR codes for teams”After creating teams, switch to the QR Code sub-tab within the Teams tab. Click Print QR Codes to generate a printable sheet with one QR code per team. Players scan these codes with MooveXR to join their team automatically. You can also use the Export Text Elements sub-tab to get activation links for sending via email.
Step 4 — Create challenges
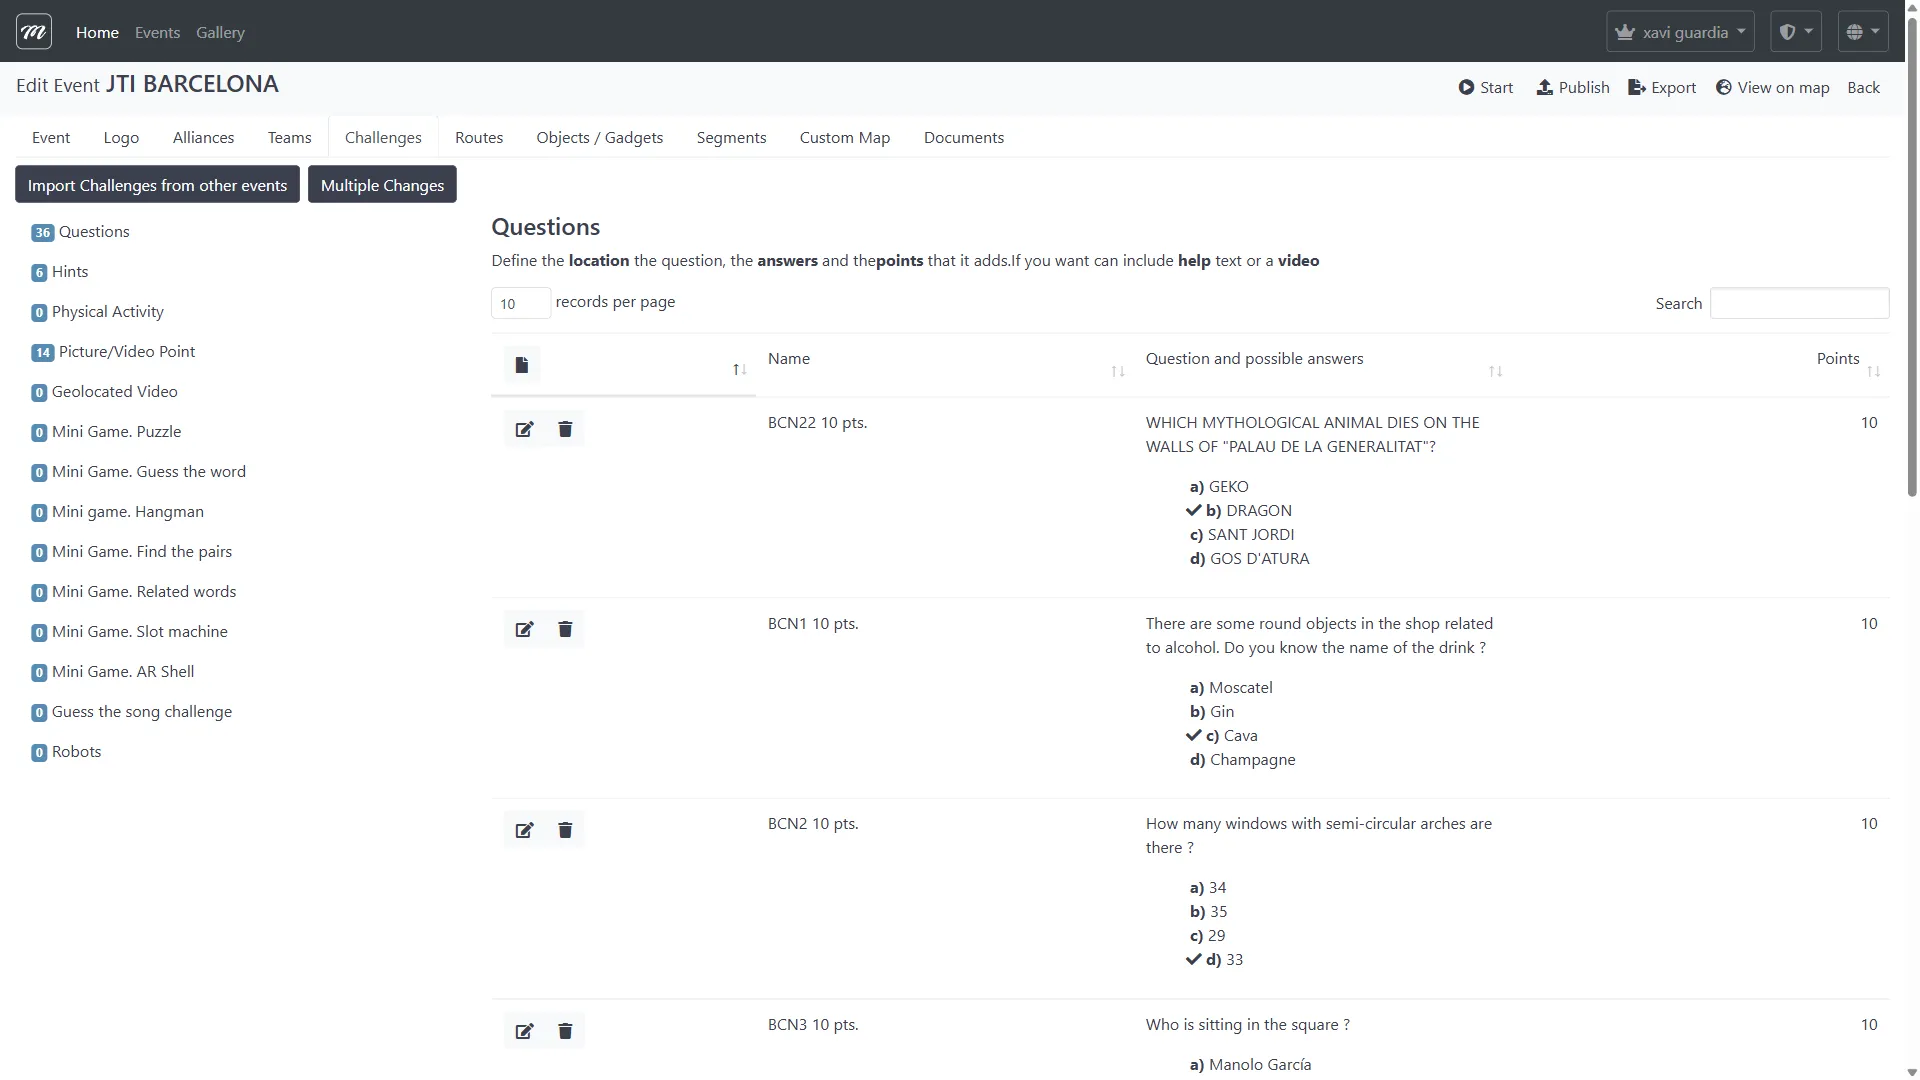
Section titled “Step 4 — Create challenges”Click the Challenges tab. This is where you build the gameplay.
- Click New.
- Pick a challenge type. For your first event, start with these three:
A question challenge
Section titled “A question challenge”Choose Questions as the type. Fill in:
- Name — the challenge title (e.g., “History Quiz”)
- Question — the question text (“In what year was the Sagrada Família started?”)
- Answers — set the correct answer and wrong options (A: 1882, B: 1900, C: 1920, D: 1950)
- Points — how many points this challenge is worth (e.g., 100)
- Location — type an address or click the map to place the challenge
Click Save.
A photo challenge
Section titled “A photo challenge”Choose Picture / Video Point as the type. Fill in:
- Name — the challenge title (“Team Selfie at the Cathedral”)
- Question — the instruction (“Take a team photo in front of the Cathedral main entrance”)
- Points — the maximum points (e.g., 200 — you will score these manually)
- Location — where the team must go
Click Save.
A hint
Section titled “A hint”Choose Hints as the type. Fill in:
- Name — the hint title (“Welcome Message”)
- Question — the text to show (“Welcome to the Barcelona Team Challenge! Head to your first location marked on the map.”)
- Points — 0 (hints are informational, not scored)
- Location — the starting point of the event
Click Save.
- Create at least 5–6 challenges total for a complete test. Mix types: a few questions, one or two photo challenges, and a hint at the start.
The challenge list shows your work so far. The sidebar on the left counts how many challenges you have per type.
Step 5 — Create routes
Section titled “Step 5 — Create routes”Click the Routes tab. Routes define which challenges each team sees and in what order.
For your first event, create at least two routes so teams go to different places:
- Click New.
- Name the route (e.g., “Route A — Gothic Quarter”).
- On the route detail page, assign challenges to this route. Drag them to set the order.
- Click Sort by nearest distance to arrange challenges in a logical walking path.
- Save.
- Repeat for a second route with a different set of challenges (or the same challenges in a different order).
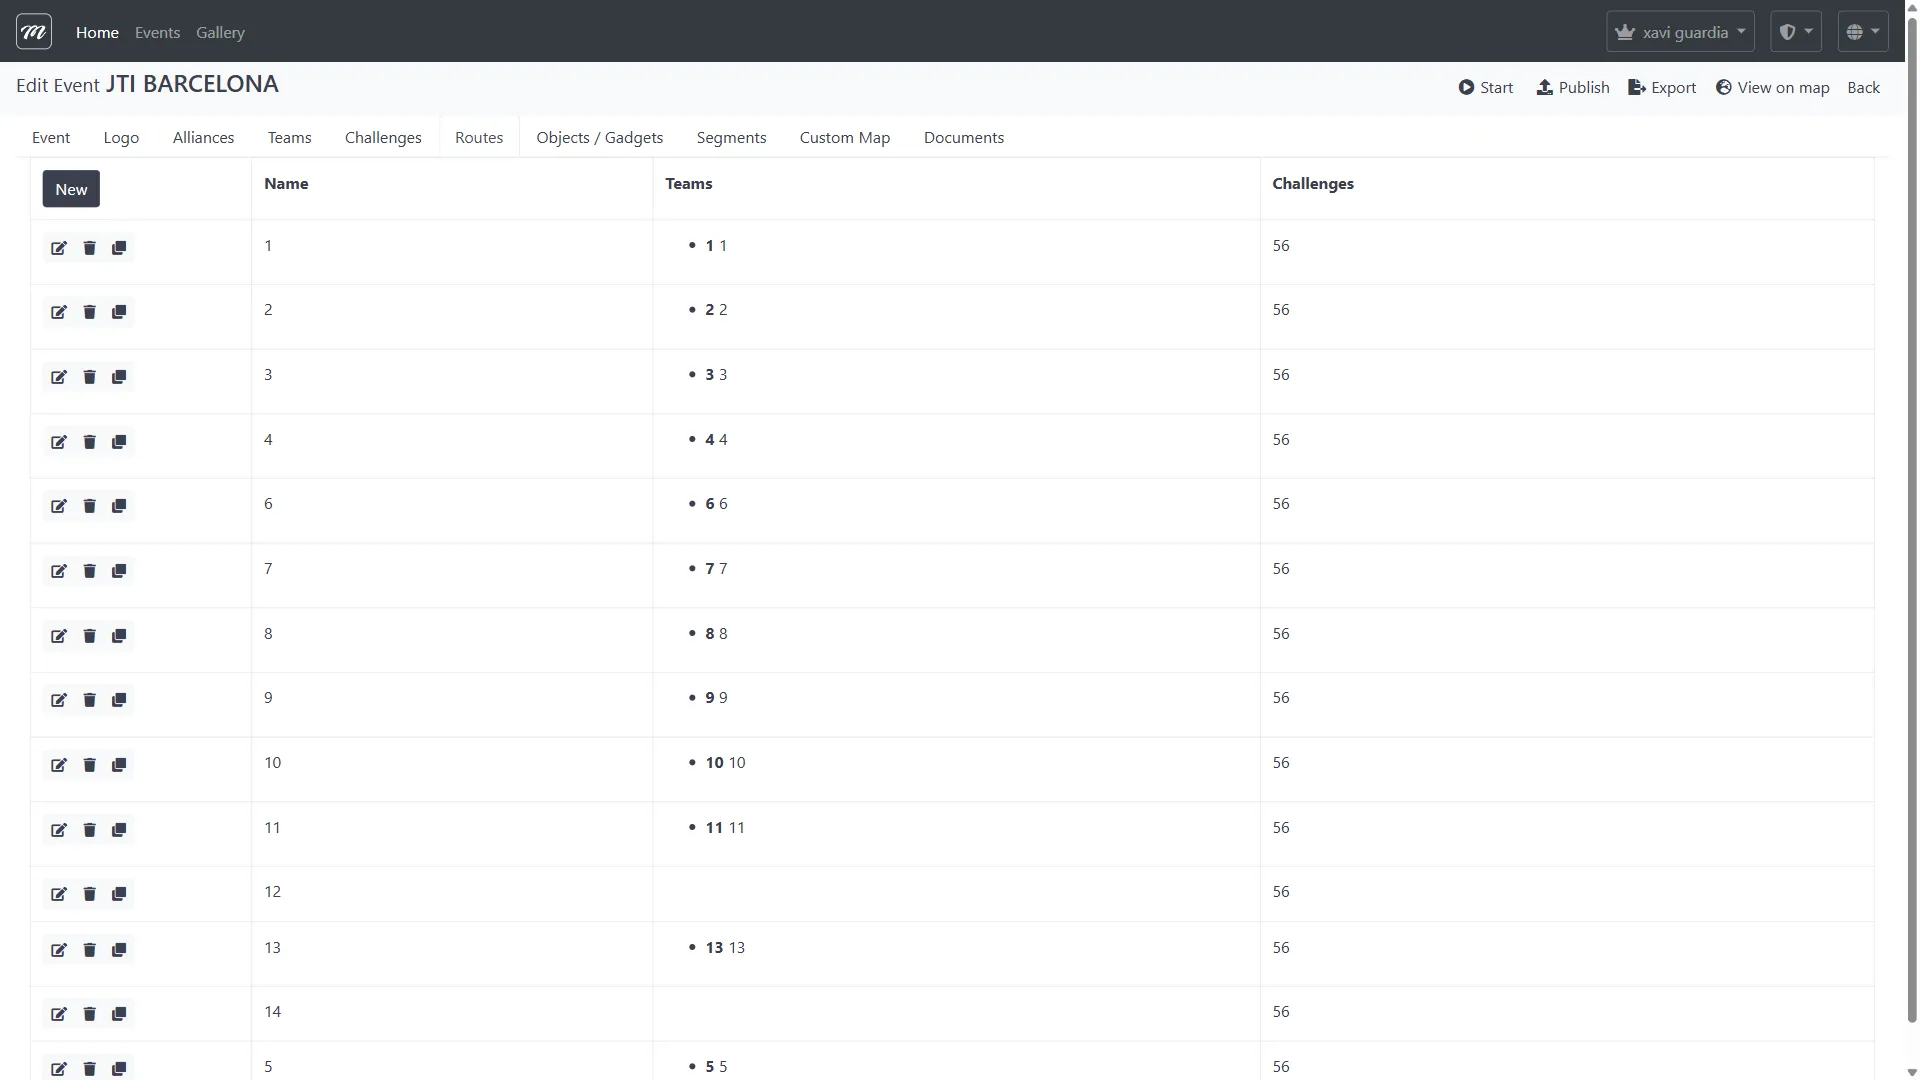
Now go back to the Teams tab and assign each team to a route. Edit each team and pick a route from the dropdown.
Why routes matter: Without routes, all teams go to the same challenges in the same order. With routes, teams spread across the map — less crowding, more variety.
Step 6 — Add gadgets (optional)
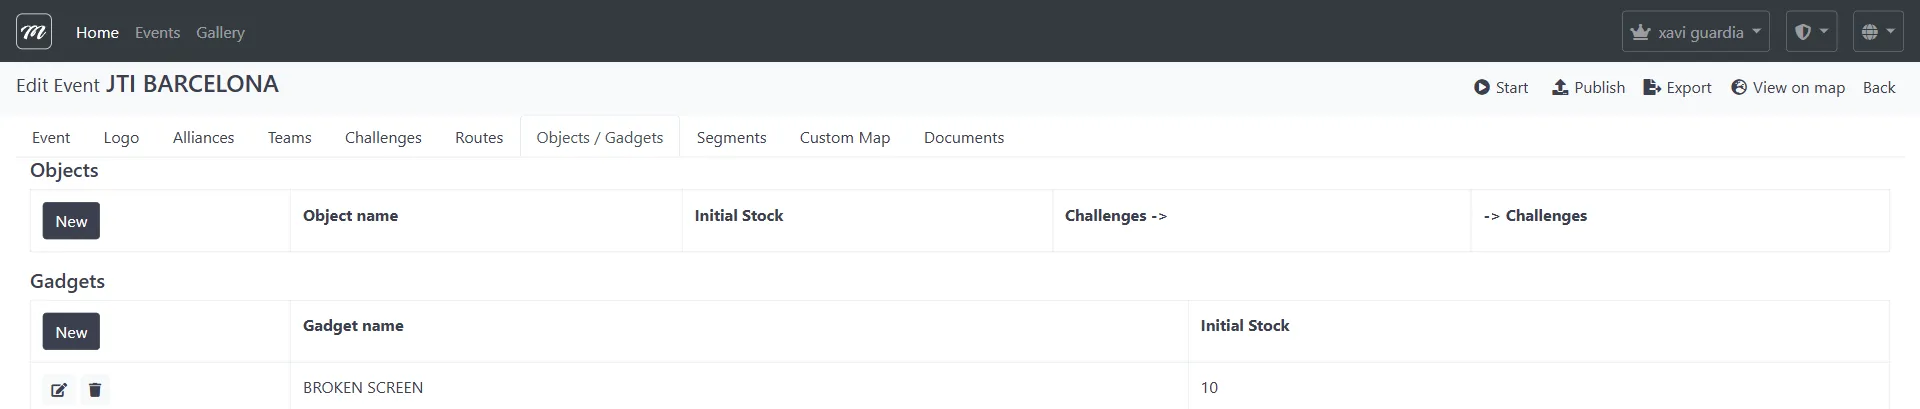
Section titled “Step 6 — Add gadgets (optional)”Click the Objects / Gadgets tab.
Gadgets let teams sabotage each other. For your first event, add two or three:
- Click New in the Gadgets section.
- Choose an effect — Bomb and Lock Screen are common choices.
- Set the Initial Stock to 3 (each team gets 3 uses).
- Save.
Skip this for now? Gadgets are optional. You can always add them later. They add competition between teams.
Step 7 — Verify your setup
Section titled “Step 7 — Verify your setup”Before testing, do a quick check:
| Check | Question to ask yourself | Where to look |
|---|---|---|
| Routes assigned | Is every team assigned to a specific route? | Teams tab |
| Locations set | Does every challenge have GPS coordinates on the map? | Challenges tab (or the map view) |
| Route order | Do challenges in each route follow a logical walking path? | Routes tab → detail view |
| Gadget stock | Is the stock per team reasonable (3–5, not 100)? | Objects / Gadgets tab |
Now click View on map in the action bar (top-right of the event edit page). This opens a map showing all your challenge locations as pins. Verify they are where you want them.
What you have learned
Section titled “What you have learned”Your event now has:
- Basic settings (name, location, duration, theme)
- 3–4 teams assigned to routes
- 5–6 challenges of mixed types (questions, photos, hints)
- 2 routes spreading teams across the map
- A few gadgets for competition (optional)
This is enough to test. In the next chapter, you will run this event in demo mode — completely free — to make sure everything works.
Before moving on, consider these optional tabs if your event needs them:
| Tab | When to use it |
|---|---|
| Logo | Upload your client’s logo for branded events |
| Alliances | Group teams into cooperative factions for large events |
| Segments | Break the event into phases (exploration → investigation → finale) |
| Custom Map | Overlay a themed illustration on the real map |
| Documents | Attach PDF rules, maps, or instructions for teams |
For field-level detail on every tab, see the Interface Reference.
Before you test: Run through the Go-Live Checklist to make sure nothing is missing. It is short and catches common oversights.
Next: Run Your First Event — start a demo, track teams live, and handle problems.