How do I configure AR scenes?
Before you start
Section titled “Before you start”- At least one image uploaded to the Gallery for use as a marker
- For 3D scenes: a 3D object uploaded to Gallery 3D
- For video scenes: a video uploaded via Characters (user menu → Characters — the video and avatar library, separate from the image Gallery)
Create a scene
Section titled “Create a scene”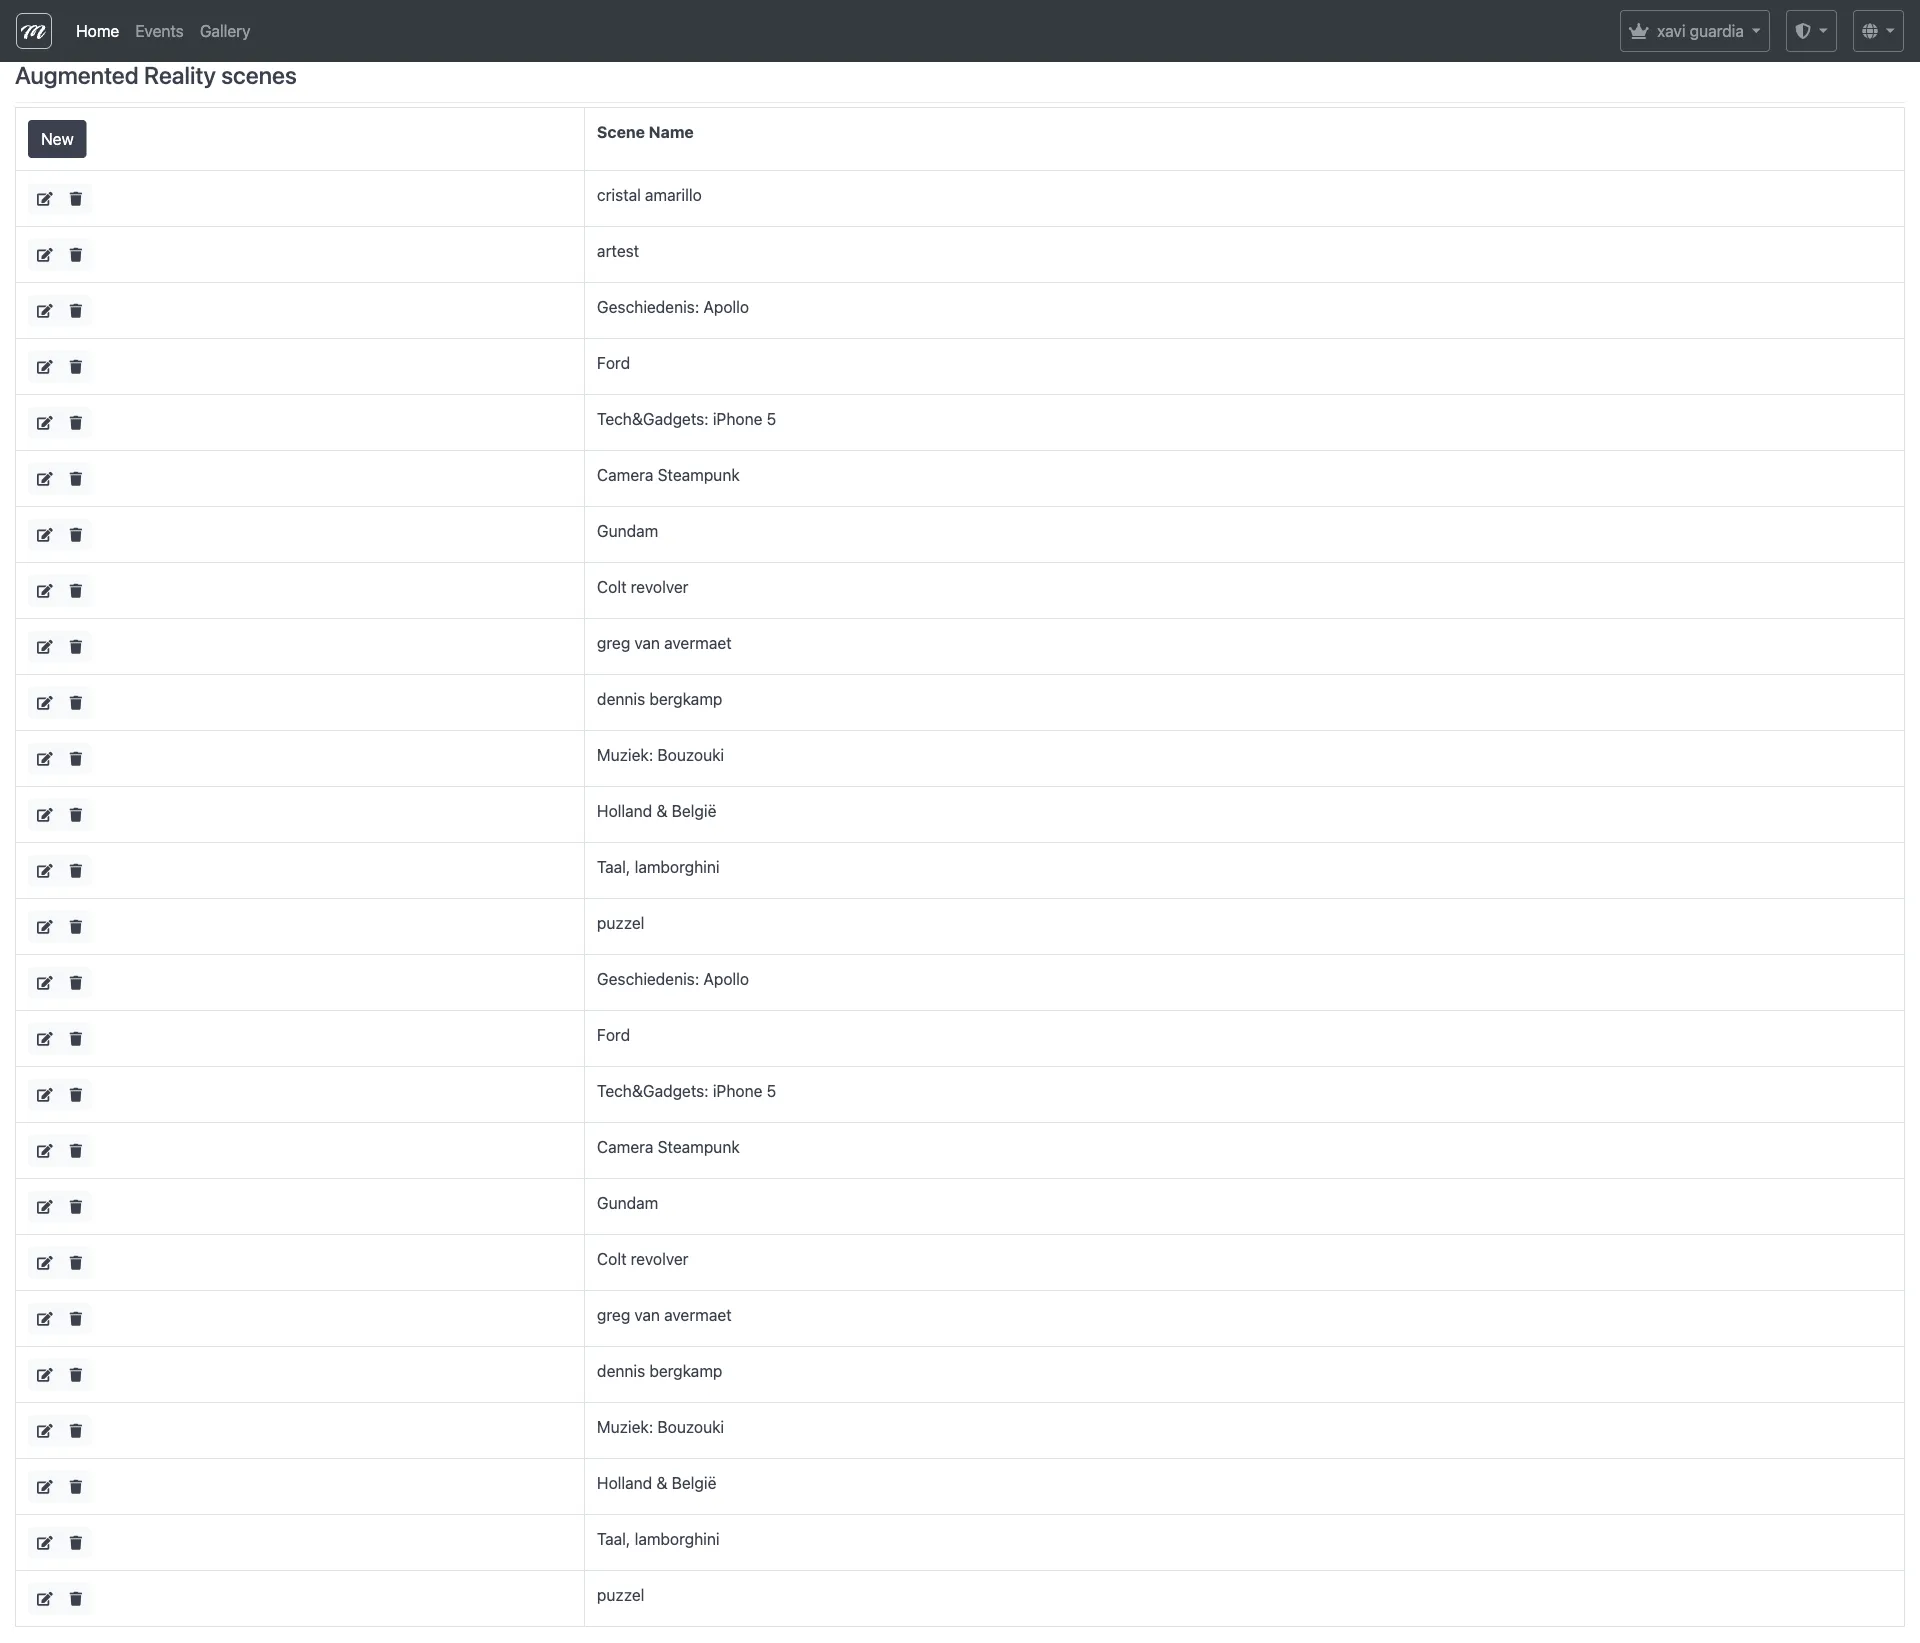
- Open the user menu (top-right) and click AR Scenes.
- Click New.
- Fill in the fields:
| Field | What to enter |
|---|---|
| Scene Name | A descriptive name (e.g., “Dragon at Plaza”) |
| Image to Augment | Select the marker image from your Gallery — this is the printed image participants point their camera at |
| Type of Augmentation | Choose: Image, Video, or 3D Object |
| Width in cm | The physical width of the printed marker (8–200 cm) |
-
Based on the augmentation type, fill in the corresponding media field:
- Image → Select an overlay image from the Gallery
- Video → Select a video from Characters (user menu → Characters)
- 3D Object → Select a model from Gallery 3D
-
Optionally adjust Transform Scale, Position, and Rotation to fine-tune placement.
-
Click Save.
Assign to a challenge
Section titled “Assign to a challenge”- Go to your event → Challenges tab.
- Create or edit a challenge of type AR Shell.
- In the challenge configuration, select the scene you created.
- Save the challenge.
When participants point their camera at the marker image during the event, the AR content appears overlaid on it.
If something goes wrong:
- AR content appears at the wrong size — verify the “Width in cm” matches the actual printed marker size. An incorrect value causes scaling errors.
- “No marker image” error — upload at least one image to the Gallery first, then return to AR Scenes.
- Scene not appearing in challenge config — scenes are company-scoped. Verify you are editing an event that belongs to the same company.
Result
Section titled “Result”Your AR scene is configured and assigned to a challenge. Participants using MooveXR will see the augmented content when they point their device camera at the marker.
For field-level detail, see the AR Scenes inventory.